 Sumas Roofing
 New-Construction Windows Aren't Just Smaller Replacement Jobs
A lot of homeowners lump all window work into one category, but new-construction windows and replacement windows are installed differently, sealed differently, and fail differently if the work is off. A new-construction window has a nailing fin around the perimeter and gets installed into a rough framed opening before the siding, stucco, or brick goes on. A replacement window gets fit into an existing frame after the fact, usually without touching the wall assembly behind it. On a new build or an addition in Abbotsford, you're almost always dealing with the first type, and that means the install has to be right the first time — once the weather-resistive barrier, flashing, and siding go over top, the window opening is buried for the life of the building.
We come at this from a roofing background, which is useful context: a roof and a window opening are both places where a building either sheds water or lets it in, and the physics don't change much between the two. The same shingle-lap logic that keeps water moving down and out on a roof is exactly what needs to happen at a window's head, jambs, and sill. When we install new-construction windows, we're applying the same water-management discipline we'd use on a roof detail — just turned sideways.
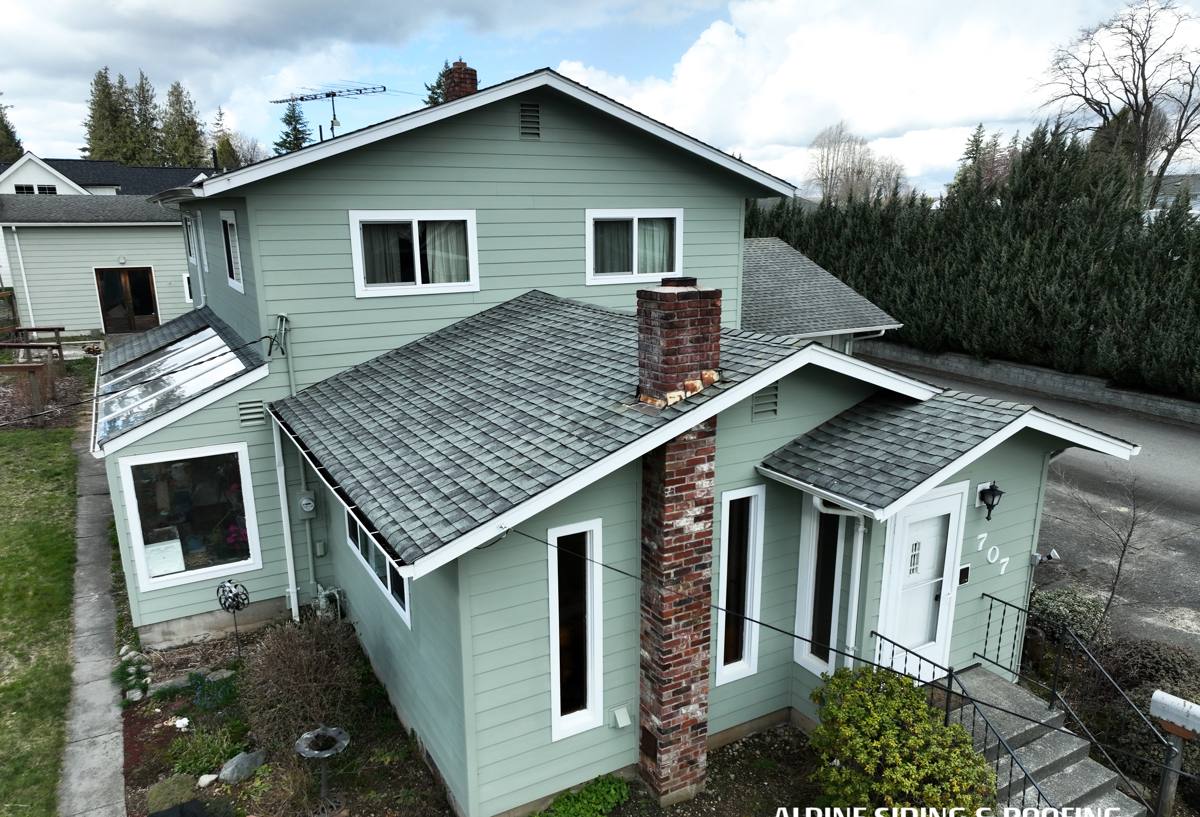
What Abbotsford's Climate Asks of a New Window Install
Whatcom County and the Fraser Valley share the same weather system, and it's not a gentle one for building envelopes. Long stretches of steady rain, a genuinely long moss season, and damp air moving in off the coast all put real, ongoing stress on a window opening — long before anyone notices a problem inside the house.
Driving rain and wind-driven wet walls
A lot of the rain here doesn't just fall straight down — it gets pushed sideways against exterior walls during storms. That matters for window flashing because a detail that only manages gravity water (rain running straight down a wall) can still let wind-driven rain in around the edges of the unit. Head flashing, end dams, and a properly sloped sill pan are there specifically to handle water that's being driven sideways and upward under wind pressure, not just water falling in a straight line.
A long moss season means a long wet season
Moss doesn't grow because of one wet week — it grows because a surface stays damp for months at a stretch. The same conditions that grow moss on a roof or a north-facing fence will grow it on window sills, trim, and mulling joints if those surfaces don't shed water and dry out between rains. Horizontal or slightly-pitched surfaces near a window are the first place we look when we're diagnosing a callback, because that's where standing moisture does the most damage over time.
Getting the Water Management Right the First Time
Sealant is not a water barrier — it's a gap filler, and it's the last line of defense, not the first. The real work happens in layers, installed in the right order so each layer sheds water onto the layer below it, the same way shingles do:
- A sloped, back-dammed sill pan under the window, so any water that gets past the unit runs back outward instead of pooling against the framing.
- Weather-resistive barrier and flashing tape integrated in a shingle-lap sequence — sill first, then jambs, then head — so water draining down the wall always laps over the layer beneath it.
- Housewrap or building paper lapped correctly over the top flange, never tucked under it, so water draining down the wall face can't get behind the window.
- Backer rod and a quality sealant at the exterior trim as the final seal, not the only seal.
Skip a step, do them out of order, or use builder's paper alone with no flashing tape, and the assembly can look fine for a year or two before moisture starts showing up as staining, soft trim, or a musty smell at the sill — usually well after the framing crew and the builder have moved on to the next job.
Frame Material and Glass: What Actually Holds Up Here
There's no single "best" frame material — there's a best fit for the budget, the exposure, and how much upkeep an owner wants to take on. In a damp, moss-prone climate, we weigh moisture behavior and long-term maintenance as heavily as upfront cost.
| Frame Material | Moisture Behavior | Maintenance | Typical Cost Tier |
|---|---|---|---|
| Vinyl | Won't rot or corrode; performs well in sustained damp conditions | Low — occasional cleaning | Budget to mid |
| Fiberglass | Very stable, minimal expansion/contraction, holds seals well over time | Low | Mid to high |
| Aluminum-clad wood | Good protection at the exterior face; interior wood still needs normal care | Moderate — watch clad seams and interior finish | High |
| Uncoated aluminum | Can corrode faster in persistent humid, salt-influenced air unless thermally broken and properly finished | Moderate to high | Mid to high |
Glass matters as much as the frame. In this climate, we generally push toward Low-E coated, argon-filled double- or triple-pane units — the coating cuts heat loss during our long heating season, and a good spacer system resists the fogging that shows up first in older or cheaper units once condensation starts working at the seal. On a new build, this is also the point in the project where it's cheapest to upgrade glass package, since it's a spec change rather than a retrofit.
Our New-Construction Window Process
- Check the rough opening against the window schedule and manufacturer specs — size, square, level, and plumb — before anything gets set.
- Install the sloped sill pan flashing, back-dammed so water can't run inward toward the framing.
- Integrate the WRB and flashing tape in shingle-lap order: sill, then jambs, then head.
- Set the window, check reveal and shim per the manufacturer's instructions, and confirm it operates smoothly before fastening.
- Fasten through the nailing fin at the schedule the manufacturer specifies — skipping fasteners or over-driving them is a common source of frame distortion.
- Tape and flash the head and jambs over the fin, lapped correctly with the WRB already in place.
- Apply exterior trim, drip cap, and sealant as the final water-shedding layer, not the primary one.
- Air-seal the interior gap around the frame with low-expansion foam or backer rod, sized for the actual gap rather than overfilled.
- Walk the openings with the builder or GC before siding closes everything in, so anything off gets caught while it's still an easy fix.
Working With Builders, Permits, and Inspections
New-construction window work doesn't happen in isolation — it happens on someone else's schedule, between framing and siding, with an inspector coming through at some point in the sequence. Whether a project sits on the Abbotsford side of the border or on the Whatcom County side, we work to whatever local building code and permitting process applies to that jurisdiction, and we coordinate directly with the general contractor or framer so window installation lands at the right point in the build sequence — not so late that it holds up siding, and not so early that the rough opening hasn't been finalized. Some builders also want a blower-door or moisture check before insulation goes in; we build our schedule around that requirement rather than treating it as an afterthought.
What a Correct Install Looks Like: A Checklist
If you're a homeowner or a builder trying to verify the work on your own project, here's what to look for:
- A sloped sill pan under every window, not just housewrap folded up at the sides.
- Flashing tape and WRB installed in shingle-lap order — sill, jambs, then head — with no reverse laps.
- Head flashing or a drip cap that projects out from the wall face, not sealant alone.
- Fasteners at every hole in the nailing fin schedule, driven snug but not over-tightened.
- No gaps at the interior between the frame and rough opening left unsealed after insulation.
- Exterior trim and sealant applied as the final layer, over — not instead of — the flashing underneath.
- A walk-through and sign-off before siding or stucco covers the opening for good.
Why Hiring a Crew That Already Works Abbotsford Matters
The details that matter on a new-construction window install aren't secret, but they're easy to skip when a crew hasn't spent real time seeing what this specific climate does to a building over several wet seasons. We already deal with moss, driving rain, and long stretches of damp weather on the roofing side of our work, so we're not guessing at how those same conditions will treat a window opening — we're applying lessons learned from the same weather hitting a different part of the same house. That also means we're familiar with the practical side of working near the border: which permitting process applies depending on which side of the line a project sits, how to schedule around it, and what local builders and inspectors expect to see at rough-in.
Living With New Windows in a Damp Climate
Once the windows are in and the house is finished, a little seasonal attention keeps them performing the way they were designed to. Keep weep holes at the bottom of the frame clear of dirt and debris so water can drain out instead of pooling. Check exterior sealant joints once a year, since sealant is the one layer that's meant to be maintained and eventually replaced. Watch sills and trim for early moss or algae growth — a soft brush and mild cleaner now is a lot cheaper than dealing with trapped moisture later. And if landscaping grows in close to a window, trim it back enough that the wall face can actually dry out between rains rather than staying damp against the foliage.
If you're building new or adding on in Abbotsford and want windows installed by a crew that treats water management as the whole job, not an afterthought, we're glad to take a look at your plans and put together a free, no-pressure estimate.