 Sumas Roofing
 Why Bellingham Siding Takes a Different Kind of Beating
Bellingham sits where Bellingham Bay meets a wet, wooded stretch of Whatcom County, and that combination is hard on exterior siding in ways that inland homes never deal with. Salt-laden air off the bay works into seams and fastener heads. Driving rain off the Sound doesn't just fall straight down — it gets pushed sideways into lap joints and trim by wind coming off the water. And the tree cover that makes so many Bellingham neighborhoods shady and pleasant also means a long moss and algae season, because siding in the shade of conifers and big-leaf maples never fully dries out between storms.
None of that is a reason to panic about your siding. It's a reason to be honest about what repair work actually needs to accomplish here. A patch that would hold up fine in a dry inland climate can fail within a season or two on a shaded, bay-facing wall in Bellingham if it isn't done with the local conditions in mind.
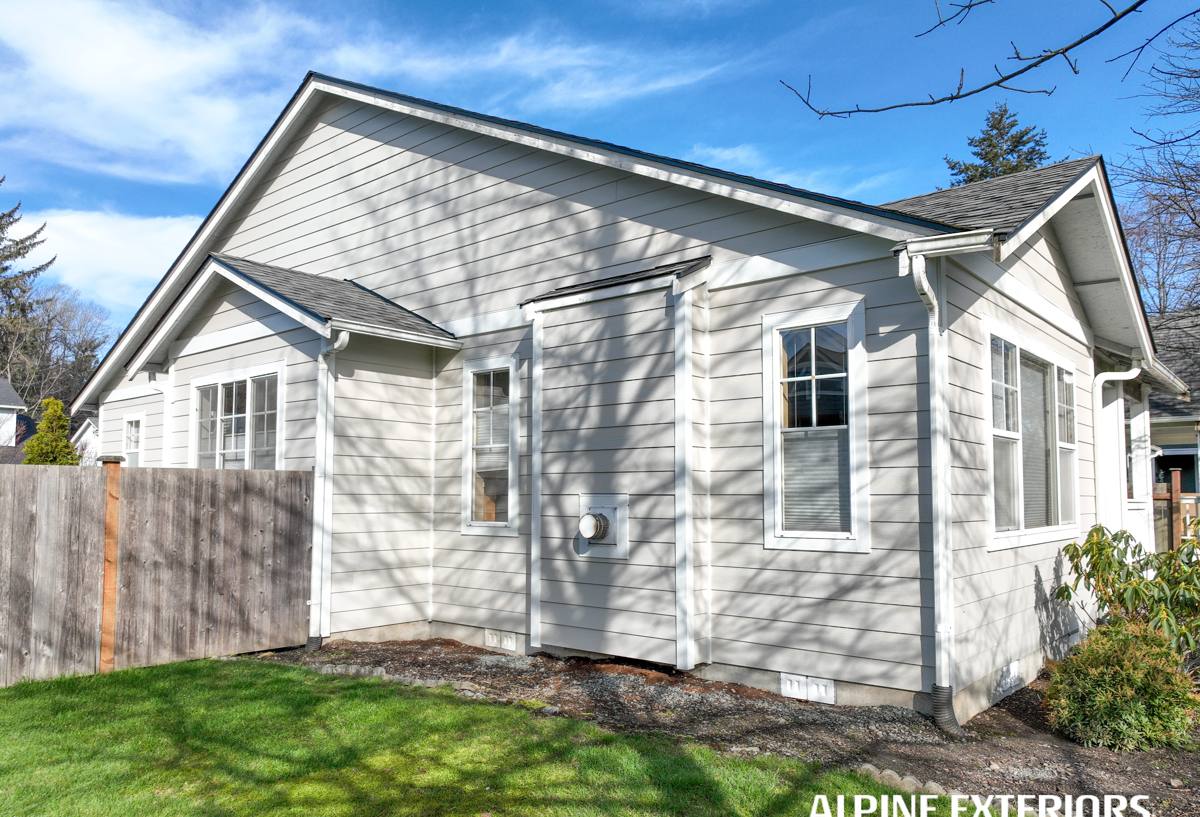
What Bellingham's Climate Actually Does to Siding
Salt Air and Metal Fasteners
Homes closer to the water deal with airborne salt that accelerates corrosion on exposed nail heads, staples, and any unprotected metal trim. Once a fastener starts rusting, it weakens its grip on the siding and can streak the surface below it — often the first visible sign homeowners notice, even though the real problem is happening at the fastener, not the paint.
Driving Rain and Wind-Driven Moisture
Wind off the water pushes rain into laps, butt joints, and trim intersections that were designed for water running straight down, not water being forced sideways or even slightly upward under an eave. Over years, this is what opens up small gaps at caulked joints and lets moisture behind the siding plane, where it can sit against sheathing and framing long after the storm has passed.
The Long Moss and Algae Season
Shaded, north-facing, and tree-lined walls in Bellingham can stay damp for weeks at a stretch in the fall and winter. That's exactly the environment moss and algae need. Beyond the cosmetic staining, moss holds moisture directly against the siding surface, which is a slower but real contributor to rot and coating breakdown, especially on wood-based products.
Common Siding Repair Issues We See on Bellingham Homes
- Cracked or split boards near corners and window trim, often from moisture cycling through freeze-thaw swings
- Rust staining and loosened fasteners on walls facing the bay or open wind exposure
- Soft or delaminating material at the bottom courses, where splash-back and standing moisture concentrate
- Failed caulk joints at trim, window flanges, and butt joints that have opened up enough to let water behind the siding
- Moss and algae buildup on shaded walls, especially under overhangs and near mature trees
- Impact damage from storm debris, ladders, or landscaping equipment
- Mismatched or visibly different repair patches from previous work that used the wrong material or fastening method
Any one of these can look minor from the ground. The question that actually matters is whether water has been getting behind the siding plane, because that's what determines whether you're looking at a straightforward cosmetic repair or something that involves the house wrap, flashing, and sheathing underneath.
What a Correct Siding Repair Actually Involves
A repair that's done right in a climate like Bellingham's isn't just about replacing the piece that's visibly damaged. It's about confirming the water management behind that piece is still doing its job.
Step One: Find Out What's Behind the Siding
Before any board goes back on, we pull the damaged section and look at the house wrap, flashing, and sheathing behind it. If there's staining, soft wood, or a breach in the weather-resistive barrier, patching over that would just seal moisture in and let the real problem keep working — invisibly — until it's a much bigger repair.
Step Two: Repair the Water Management Layer, Not Just the Siding
Any compromised house wrap gets repaired or replaced with proper lapping and taping. Flashing at windows, doors, and horizontal trim gets checked and corrected if it's directing water into the wall instead of away from it. This step is invisible once the new siding goes back on, but it's the difference between a repair that lasts and one that just buys a year or two.
Step Three: Match the Install to the Existing Wall
New siding gets fastened, lapped, and caulked to match the existing pattern and reveal, with fastener placement that won't split the board or leave it loose over time. Where we're patching into fiber cement, we follow the same fastening and clearance specs the material was engineered for — not shortcuts that happen to look fine on install day.
Step Four: Finish and Color-Match
The visible finish work — caulking, priming any cut edges, and matching the color — is what makes a repair disappear into the wall instead of standing out as an obvious patch.
Repairing With James Hardie Fiber Cement
We install James Hardie fiber cement siding exclusively — we don't install vinyl, LP SmartSide, Cemplank, Allura, primed spruce, or cedar. On a repair job, that standard shapes how we approach the work. When we're replacing a damaged section of Hardie siding, we match it with Hardie product, follow Hardie's fastening and clearance specifications, and use touch-up or ColorPlus-matched finish so the repair holds up the same way the surrounding siding does.
If your home currently has a different siding material and you're calling us for a repair, we'll tell you honestly what your options are. Small spot repairs on existing material are sometimes the right call. But if a wall is dealing with repeated moisture problems, extensive moss staining, or multiple failed patches, our recommendation is usually to talk about replacing that section — or the wall — with fiber cement, because it's simply a better match for a bay-adjacent, high-moisture climate: it doesn't absorb water and swell the way engineered wood products can, it resists insects and rot by nature of being cement-based, and it holds a factory finish through Bellingham's damp season instead of relying on field-applied paint to do all the work.
We're not going to talk you into a full re-side when a real repair will hold. But we're also not going to install a product on your home that we don't think will perform here, even for a patch.
Repair vs. Replacement: How to Think About the Cost Factors
| Factor | Points Toward Repair | Points Toward Replacement |
|---|---|---|
| Extent of damage | Isolated to one or two sections | Spread across multiple walls or elevations |
| Moisture behind siding | None found on inspection | Staining, soft sheathing, or repeated water intrusion |
| Age of existing siding | Recently installed, otherwise sound | Near or past its expected service life |
| Prior repair history | First repair on this wall | Multiple past patches, especially mismatched material |
| Moss/algae exposure | Limited to a small shaded area | Chronic staining across shaded or bay-facing walls |
| Color/appearance match | New material can match existing finish closely | Existing siding is discontinued, faded, or a different product |
This isn't a formula — it's a framework. Most Bellingham homes we look at land somewhere on this table, and our job is to walk you through where your situation actually falls rather than defaulting to the most expensive answer.
Signs You Should Get a Repair Looked At Soon
- Visible cracks, splits, or gaps at board joints or corners
- Soft spots when you press gently on the siding, especially near the bottom courses
- Rust streaks running down from fastener locations
- Persistent moss or dark staining that comes back shortly after cleaning
- Peeling or bubbling paint concentrated in one area rather than the whole wall
- Any section that looks or feels different from the rest of the wall after a past repair
- Interior signs like a musty smell, discoloration, or soft drywall near an exterior wall
Catching these early is almost always cheaper than waiting. Moisture problems in this climate don't go dormant over the winter — the wet season is exactly when they get worse.
Our Process for Bellingham Repair Calls
We're based in Sumas and have worked Whatcom County long enough to know that a repair estimate written from a photo doesn't tell the whole story. Our process starts with an in-person look at the damaged area and a check of the wall assembly behind it, not just a quote based on square footage. From there we give you a straight answer on whether you're looking at a spot repair, a section replacement, or something bigger — along with what we found and why.
Because we already work in this area regularly, we're familiar with the kind of exposure Bellingham's bay-facing and tree-shaded properties deal with, and we don't need to relearn the local moisture patterns on your dime. That matters on a repair call specifically, because half the job is diagnosis — figuring out why the siding failed in the first place — and that's a lot harder to get right if a crew hasn't seen a few dozen walls in this same climate.
Choosing a Contractor for Siding Repair Work
Repair work gets shortcut more often than full re-sides, mostly because it's smaller and less visible once it's done. A few things worth asking any contractor before you hire them:
- Will they open up the wall to check for moisture before quoting the repair, or are they quoting from the outside only?
- Do they carry and stand behind the material they're installing, with a real warranty — not just a handshake on workmanship?
- Can they match your existing siding profile, reveal, and finish, or will the patch be visibly different?
- Are they licensed and insured to work in Washington, and can they show it without you having to ask twice?
- Do they have experience with the specific product on your home, whether that's fiber cement, an engineered wood product, or something else?
A contractor who's evasive on any of these is telling you something about how the repair itself will go.
Get a Straight Answer on Your Repair
If you're dealing with damaged, stained, or failing siding on a Bellingham home, we're glad to take a look and give you an honest read on what it needs — repair, section replacement, or something more. There's a form below for a free, no-pressure estimate, and we'll tell you what we actually find, not just what's easiest to sell.