 Sumas Roofing
 New-Construction Windows in Acme: Built for the Opening, Not Just the Glass
If you're framing a new home or an addition out in the Acme area near Sumas, the windows you choose and how they're installed will decide how that structure handles moisture for the next few decades. New-construction windows aren't just "windows that go into a new house" — they're a different product category than replacement windows, built with a nailing fin that gets integrated directly into the wall's weather-resistive barrier during framing, before siding or trim goes on. Get that integration right and the wall behind the window stays dry for the life of the house. Get it wrong, and you won't see the problem until the drywall or sheathing is already rotting from the inside.
In Whatcom County, that margin for error is smaller than it is in drier parts of the state. Between driving rain events, salt-laden air moving in off the coast, and a moss season that can stretch for months, every rough opening on an Acme job site is under more sustained moisture pressure than the same window would face somewhere inland and dry. That's the lens we install through.
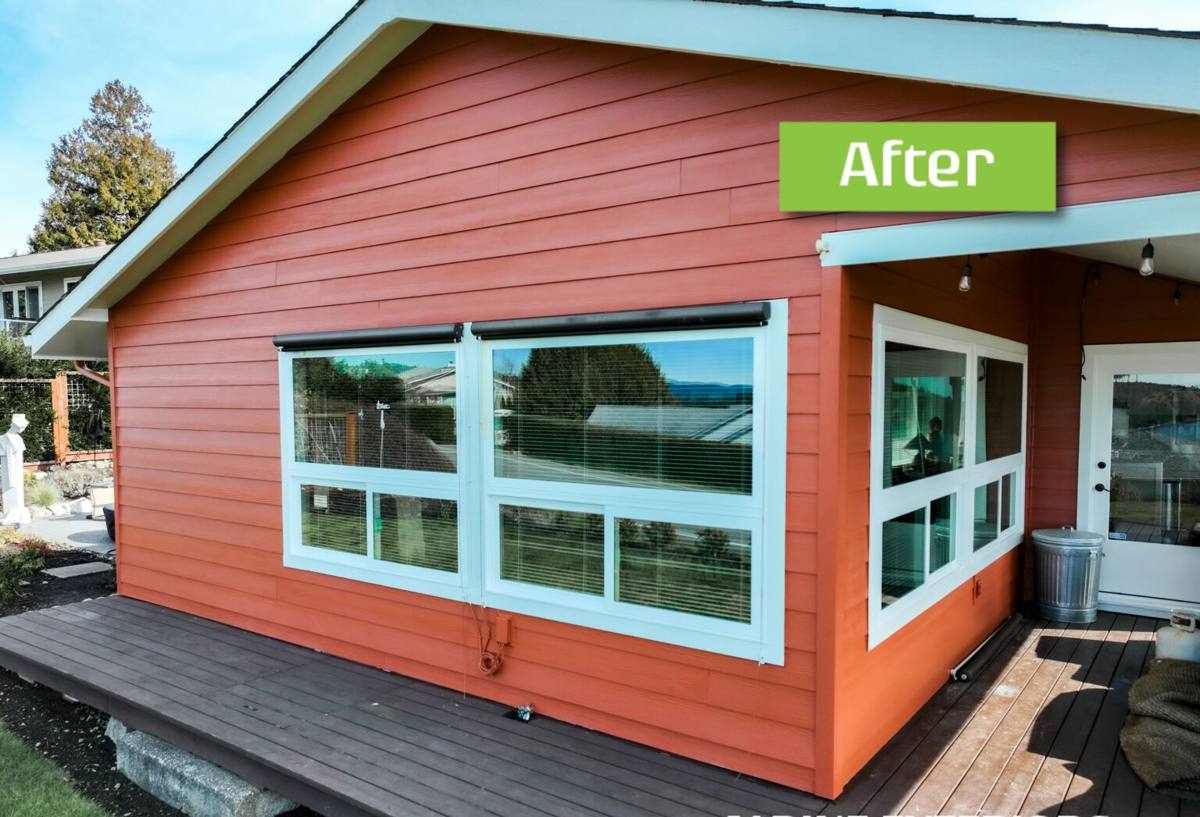
New Construction vs. Replacement: Why the Distinction Matters
The Nailing Fin and the Rough Opening
A new-construction window has a flange around its perimeter that gets fastened to the sheathing and lapped into the housewrap or building paper, shingle-style, so water runs over every layer instead of behind it. A replacement window, by contrast, is built to drop into an existing frame with no fin at all. Using the wrong product for the situation — or installing the right product with the layering out of order — is one of the most common ways a brand-new house ends up with a hidden moisture problem behind a window that looks perfect from the outside.
Why This Should Be the Easier Window to Get Right
Because you're not fighting an existing wall, a new-construction install should be the more forgiving job — you can see the studs, the sheathing, and the opening before anything is closed up. That's an advantage only if the crew treats it as one. Rushed framing schedules are the real threat here: windows get set quickly so siding crews can move in, and the flashing details that take an extra twenty minutes per opening are the first thing to get skipped.
What the Local Climate Does to a New Window Opening
Acme sits in a part of Whatcom County that gets hit with the same weather pattern that defines window performance across this whole corner of the state: sustained, wind-driven rain rather than short cloudbursts. Wind-driven rain finds any gap in flashing and pushes water uphill and sideways, not just down — which is why a window that would be fine in a calmer climate can leak here if the head flashing isn't lapped correctly or the sill pan isn't sloped to drain.
Add in the salt air that moves through this region and the long stretch of damp, low-light months that keep moss established on roofs and siding for much of the year, and you get three separate stressors acting on the same opening: corrosion working on fasteners and hardware, standing moisture working on trim and sealants, and moss and organic buildup holding dampness against the wall longer than it would otherwise sit. None of these are dramatic on their own. Together, over ten or fifteen years, they're what separates a window opening that's still tight from one that's started to fail.
Why Sealant Alone Isn't a Flashing Plan
Caulk breaks down. UV, temperature swings, and constant damp cycling in this climate shorten the working life of exterior sealant well below what the tube's label promises. A correctly built opening uses sealant as a backup to mechanical water management — flashing, laps, and drainage — not as the only thing standing between the house and the weather. If a window is only staying dry because of a bead of caulk, it's a matter of time before it isn't.
What a Correct New-Construction Installation Involves
On every Acme new-build we work, the sequence matters more than any single product choice. A correct install includes:
- A sloped sill pan under the window opening so any water that gets past the window drains back outside instead of pooling on the sill
- Housewrap or building paper lapped correctly at the sill, jambs, and head — in that order — so each layer sheds water onto the one below it
- The window's nailing fin set into the opening plumb, level, and square before a single fastener goes in, checked at all four corners
- Shims placed to manufacturer spec so the frame isn't relying on fasteners alone to hold its shape under wind load
- Head flashing installed last, over the top fin, so it sheds water down and over the housewrap rather than trapping it against the frame
- Corrosion-resistant fasteners appropriate for a coastal-influenced climate, not standard interior-grade hardware
- Interior and exterior sealant applied as a secondary barrier, not the primary one
- A final water-management check — visually tracing where water would travel at every lap — before siding closes the opening up for good
Skip any one of these and the window can still look and operate fine for years. The failures this sequence prevents are slow ones, which is exactly why they're worth getting right the first time, while the wall is still open.
Frame Material Comparison for New Builds
Frame material is a real decision point on new construction, since you're choosing before there's an existing window to match. Here's how the common options compare for a project in this climate:
| Frame Material | Moisture Behavior | Maintenance | Typical Cost Tier |
|---|---|---|---|
| Vinyl | Won't rot or corrode; performs well in damp climates with minimal upkeep | Low — occasional cleaning | Lower |
| Fiberglass | Dimensionally stable through temperature and moisture swings; strong long-term performer here | Low | Mid to upper |
| Wood-clad | Good appearance but the clad-to-wood transition needs careful detailing to keep moisture out of the wood core | Higher — finish and seal checks over time | Upper |
| Aluminum | Durable but conducts cold and can be prone to condensation in our damp winters unless thermally broken | Moderate | Varies |
We don't push one material on every job. What we do insist on is matching the flashing and fastener details to whatever material a homeowner or builder chooses — a great window with a mediocre install will underperform a mid-range window put in correctly, every time.
Our Process on Acme Job Sites
- Site visit during framing. We look at the rough openings, the housewrap plan, and the build schedule before quoting anything, so the number reflects the actual site conditions.
- Product and frame selection. We walk through material options against the home's exposure — a wall facing prevailing wind and rain gets talked about differently than a sheltered elevation.
- Sill pan and flashing prep. Before a window ever goes into the opening, the drainage plane is built and checked.
- Setting the windows. Plumb, level, square, and shimmed to spec — verified at every opening, not just the first one.
- Head flashing and final lapping. Every layer closed out in the correct shingle order so water is directed out, not in.
- Interior and exterior finish check. Sealant, insulation around the frame, and a final walkthrough with whoever's coordinating the build.
Because we're a local Sumas-area crew, we can usually work around a builder's framing schedule rather than the other way around, which matters when a dry stretch of weather is the deciding factor in when windows go in.
Mistakes We Catch on New Builds
Most of the problems we get called to fix on newer Acme homes trace back to a handful of repeat issues: housewrap lapped in the wrong order at the sill, no sill pan at all, head flashing tucked behind the housewrap instead of over it, and fasteners that weren't rated for a damp, salt-influenced climate. None of these show up on a walkthrough right after the siding goes on. They show up as a soft spot in the wall, a stain on interior trim, or a musty smell years later — after the moss and the rain have had time to work on the weak point.
Why a Crew That Already Works Acme Matters
A crew that's worked new construction around Sumas and the surrounding Whatcom County area knows the weather windows that matter for a dry install, has a working relationship with local building inspectors and the permitting process, and has already seen how this specific climate treats different frame materials and flashing details over time. That's not something you can shortcut with a general contractor from outside the area who's installing windows here for the first time. Local experience shows up in the small decisions — how tight to run a schedule around an incoming rain system, which details need extra attention on a north-facing wall — not in anything you'd notice on move-in day.
Timing Windows Into Your Build Schedule
Windows should go in once a home is framed and sheathed but before siding closes the wall up — the "dry-in" stage. Pushing this step too early means working around incomplete sheathing or housewrap; pushing it too late compresses the schedule and increases pressure to rush flashing details to keep other trades moving. On a project in this climate, we'd rather build in a short weather buffer than install openings during an active rain system just to hit a date.
If you're planning a new build or addition in the Acme area and want windows installed the right way the first time, we're happy to take a look at your plans or framed openings and walk you through the options. Reach out for a free, no-pressure estimate using the form below.